Now you have learnt how to create a product, now comes the lesson in creating subscriptions.
Subscriptions are used for renewable or auto-renewable products such as memberships.
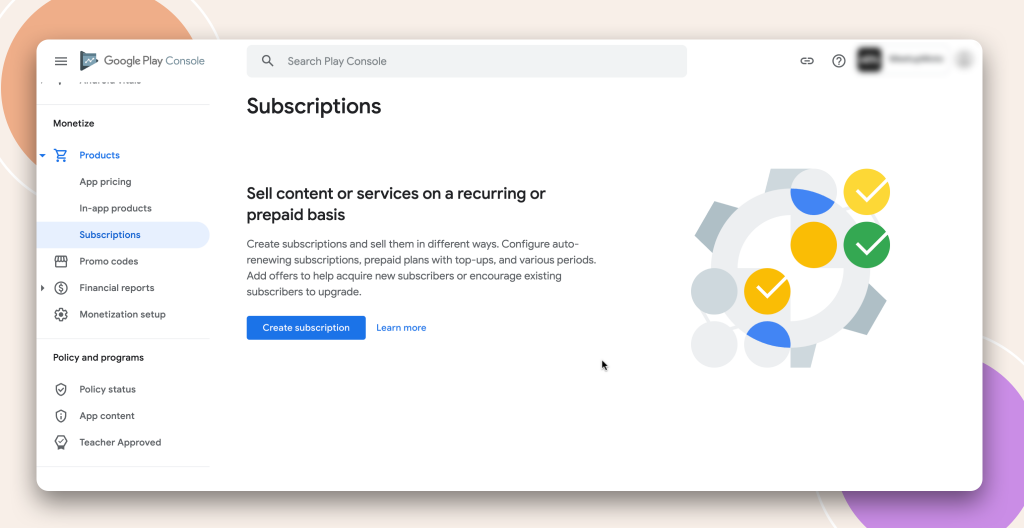
You can access subscriptions by navigating to the ‘Products’ drop down menu, located under In-App Products. Again to start creating your first subscription click the big blue button ‘Create Subscription’.
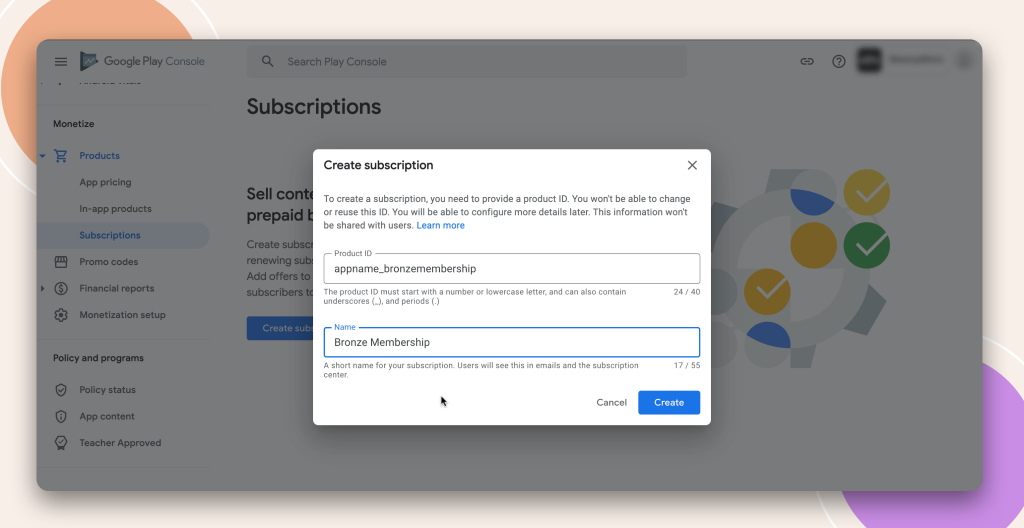
You will notice when naming the subscription I have used ‘Bronze Membership’ so that the name is in keeping with the subscription I also setup in the Apple In-App Purchase lesson, like I mentioned this will become more clear when we come to setup and connect the In-App Products created in Apple and Google inside the Buddyboss plugin.
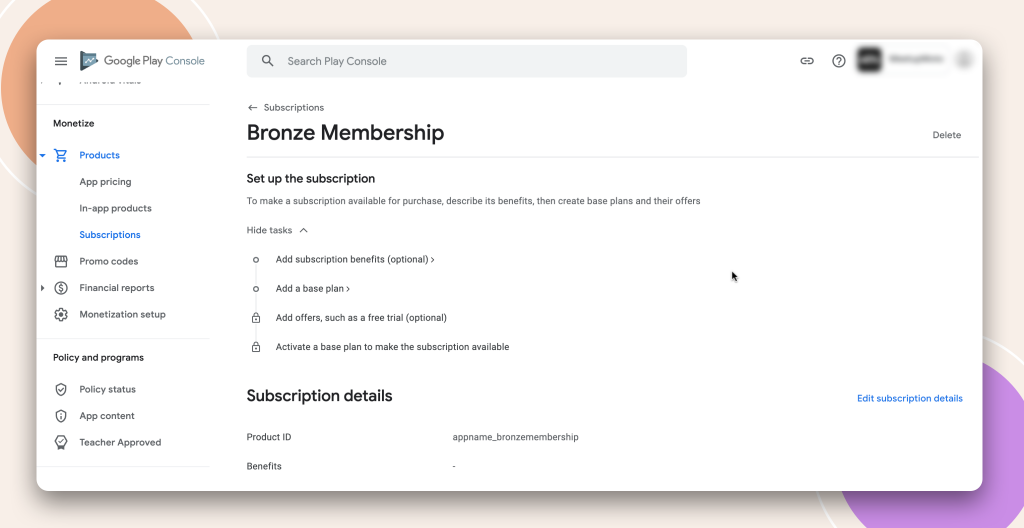
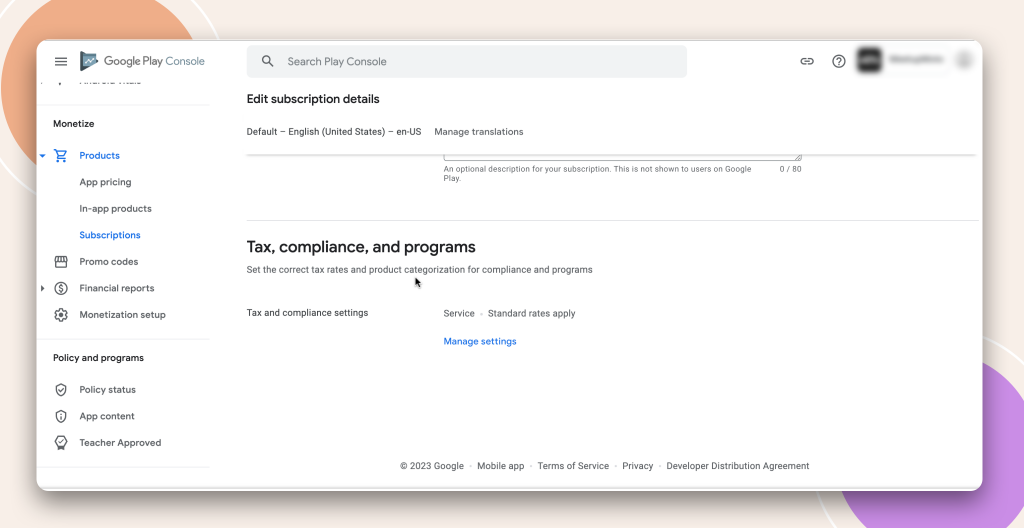
Once you have created your subscription name and ID you will be redirected to the subscription page where you will fill out all the details about the subscription. Google provide you with a nice wizard to follow for all the information that you might want to add that is optional and required. Anything that is optional will be marked as such in bracket (optional). We will cover it all for the purpose of this lesson.
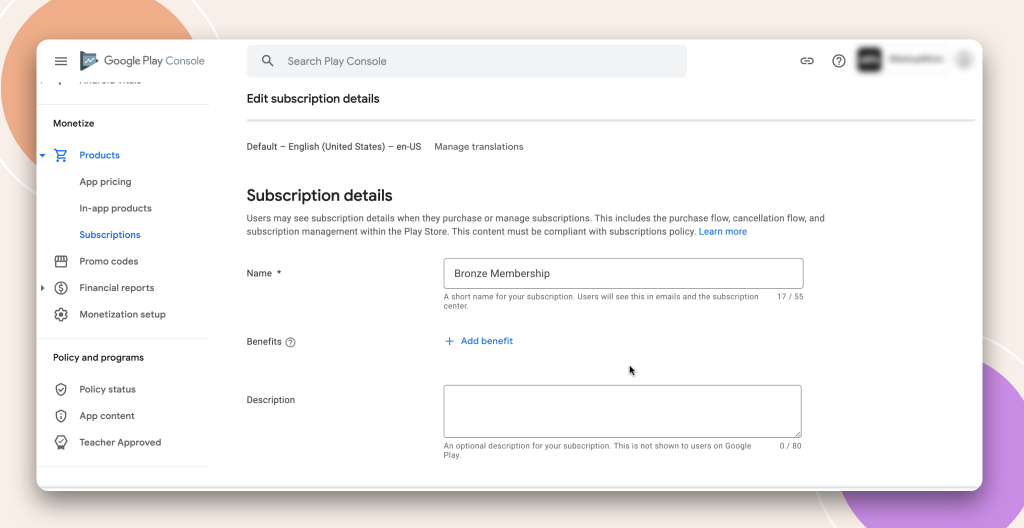
Benefits:
You can add as many benefits as you would like and will consist of the features, functions or products the user gets when they subscribe to the specific membership. The description field is for your purpose only so you can if you wish write what this subscription provides your customer, this can come in handy if you have many subscriptions and start to forget what each provides.
Also again as we scroll down the subscription has the option to change the tax setup for this particular subscription. Subscriptions would be classed as a service so when you click in to ‘Manage Settings‘ you will see the default is already set, so in most circumstances this wont need to be changed.
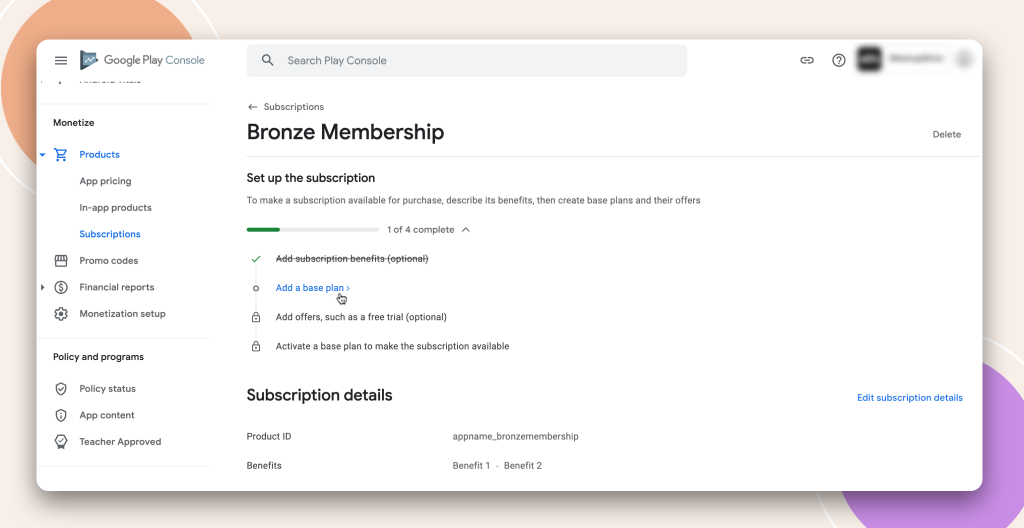
Now your subscription membership is complete. What you may have notice is that we did not fill out any time lengths of this memberships or payment timeframes etc.. Well that’s the next step and with Google you create the product (the subscription which is the membership and what you get for it.) and then you create what they call ‘Base Plans’.
Creating a Base Plan
Ok so whats a base plan… Base Plans are done separately and what this does it allows you to create the financial parameters within a base plan and then attach them to 1 or more of your subscription products. By creating a ‘Base Plan’ separately it means you can be more flexible about giving deals on subscription products by attaching base plans, and effectively saves you time rather than having to set pricing to each subscription every time.
If you navigate back to subscriptions and select the subscription you have just created you will be back at the wizard and now we can select ‘Base Plan’.
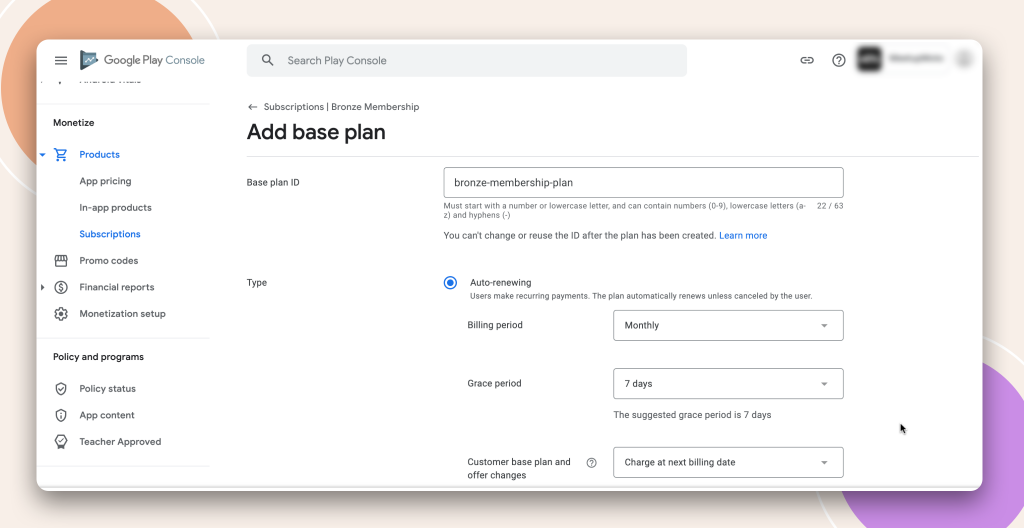
Base Plan ID:
You will first need to provide your plan with an ID. As always its nice to keep everything uniformly named so you know what what. As I am attaching this plan to my ‘Bronze’ subscription I will name the plan something along those lines such as, bronze-membership-plan.
Type:
Auto-renewing: As this is a membership I want to set how long before the customer gets charged again which effectively wants to be on a monthly basis. You have many options here of set period plus a grace period in case of payment fails.
Customer base plan and offer change: basically is saying if you set an offer during the membership period, when do you want the offer to start. Here its prudish to start the offer at the next billing date but you also have the option to start straight away.
Resubscribe: This is if the customers membership expires or they cancel out of the membership, do you want them to be able to purchase the membership again through Google. You can set this to either Allow or Don’t Allow.
Tags
You can set tags to plans which is similar to tagging the user that purchases the subscription so that later on as you start building up offer plans you can use the tags to find those customers that are eligible for a particular offer. This is not required and does require a full understanding of tags and how they work . Read more about Base Plan Subscription Tags
Pricing and Availability
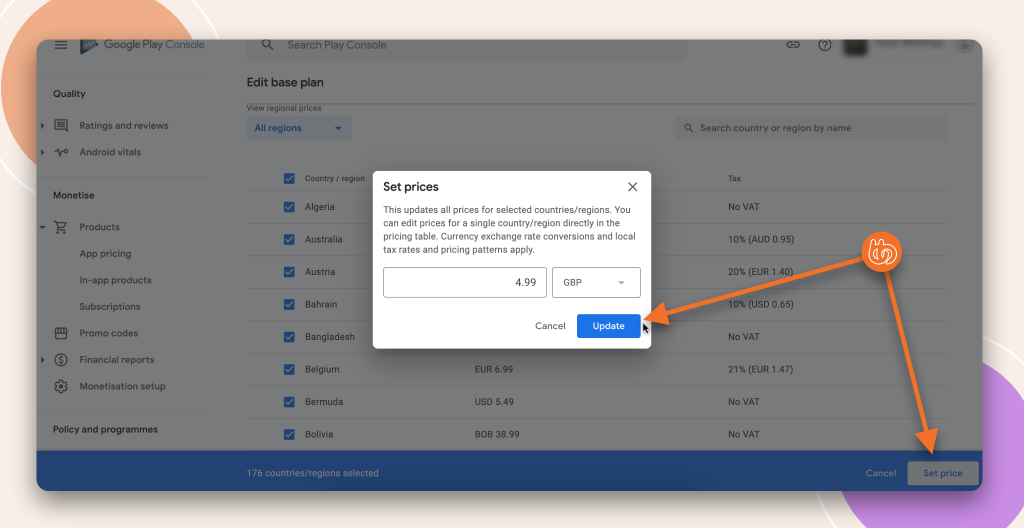
This section will naturally be empty with no pricing set. To set your pricing you will see on the right side of the page shows a set price link. Once you click ‘Set Prices’ a model will pop up with all the regions available to your app, which again will only be the regions you setup when setting up your app at the start. You will need to check the boxes of all the regions you want to set a price for.
TIP: Select the checkbox at the very top to select all.
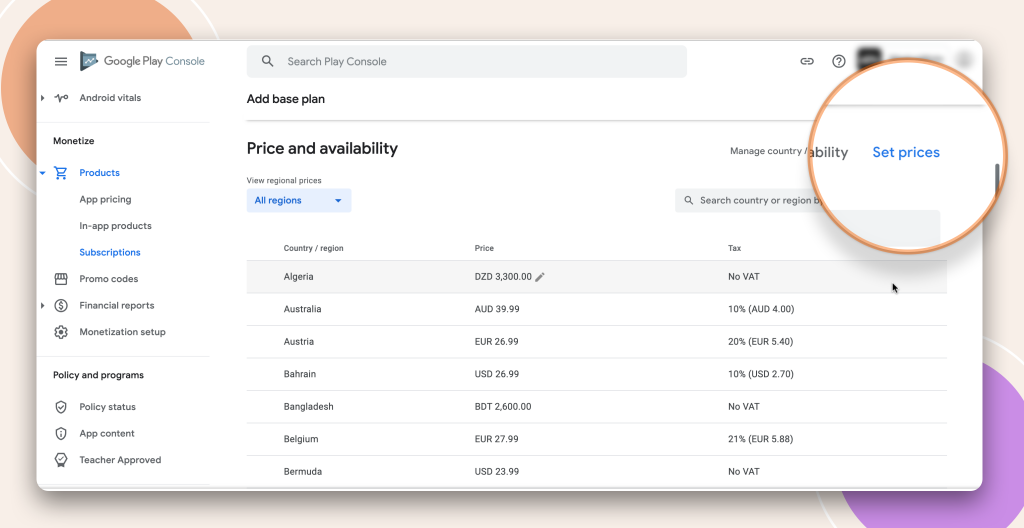
Once you select your regions you will see the set price button highlight in the bottom right corner of the screen.
NOTE: You can set prices multiple times. For example if you select United States you can set USD price. If you then ‘Set Price’ again you can then select United Kingdom and set a separate currency and price and so on and so forth.
Once your pricing is set you can then ‘Save Changes’ and then ‘Activate’. Your subscription base plan is now setup.


