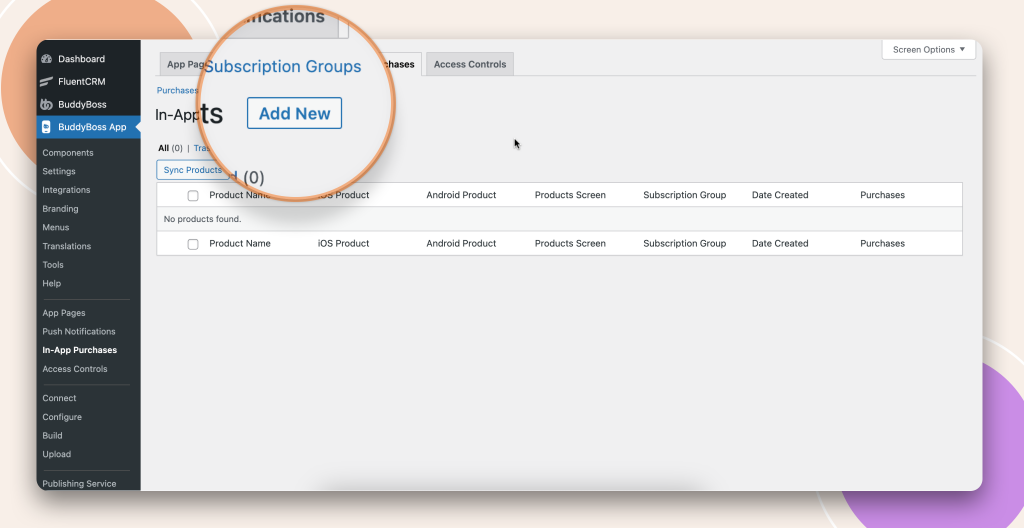
Now we have created products in our Apple App Store and Google Developer Account, we can now setup and sync the products in our Buddyboss account so that they can display within our app. To start this we will navigate to our wordpress admin Buddyboss App – In-App Purchases – Products.
Lets start by clicking on ‘Add New’ to start creating our first product.
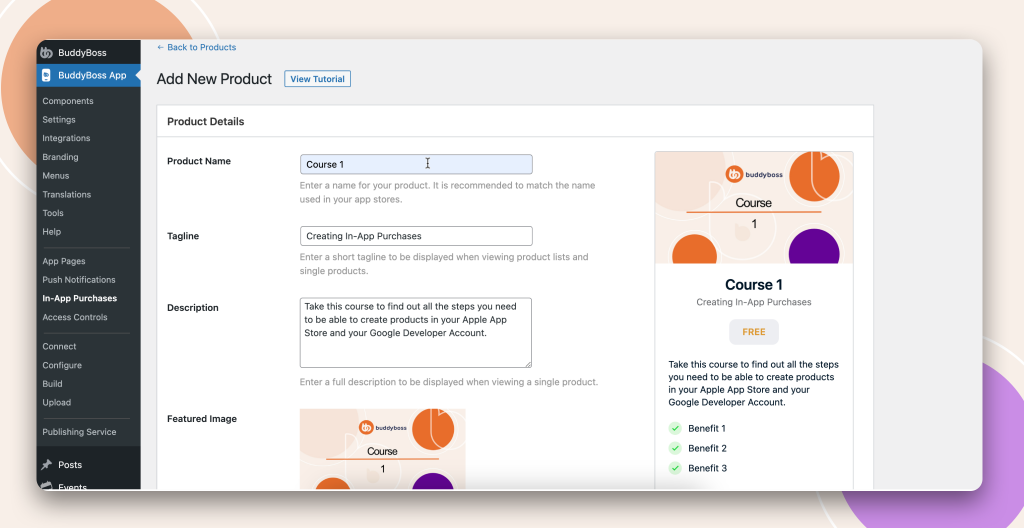
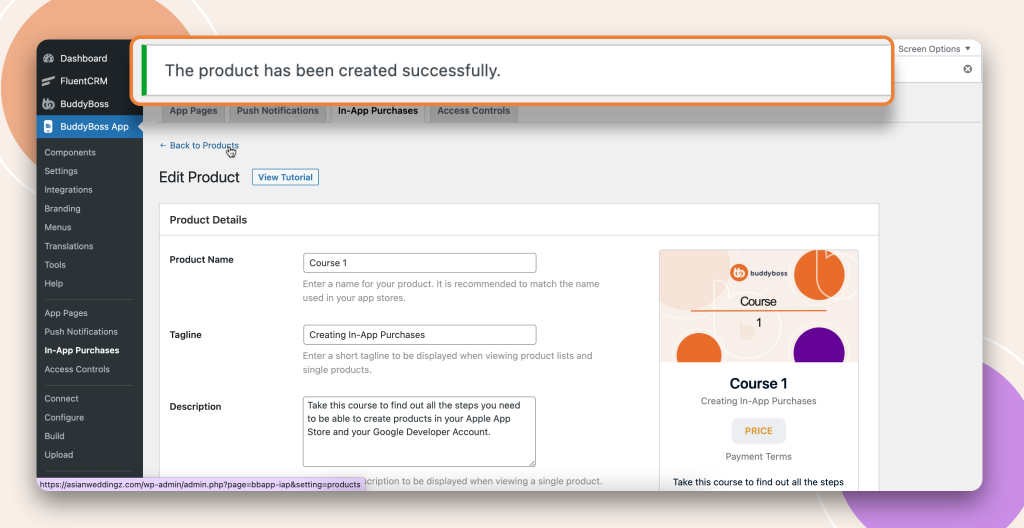
You will now be directed to a new product form, here you will fill out the form with the information similar to the information we filled out to the product we created in Apple and Google accounts. This doesn’t have to be exact and this process will not stop you if you choose to fill it out completely differently to the product you added in your developer accounts. We recommend in order to keep this process as simple as possible we fill it out in the same way.
Lets start filling out the informations required;
Product Name: Course 1 is the name I used for Apple and Google accounts for this product so I am matching that.
Tagline: Enter a short sub heading
Description: Add a description to explain more about this product for all your users to be able to read.
Featured Image: create a nice looking image for your product which needs to be 320×180 pixels.
Benefits: Add as many benefits as you like here, again you want to stay in keeping with the benefits you added to your products in your Apple and Google account.
I have filled out the form to match the setup from our walk through, and as you notice on the right we have a preview model that will show what your product will look like to your customer.
Product Type
With product type you are just selecting whether your product is ‘Free’ or ‘Paid’ product. In this instance our product is paid so I have selected ‘Paid’.
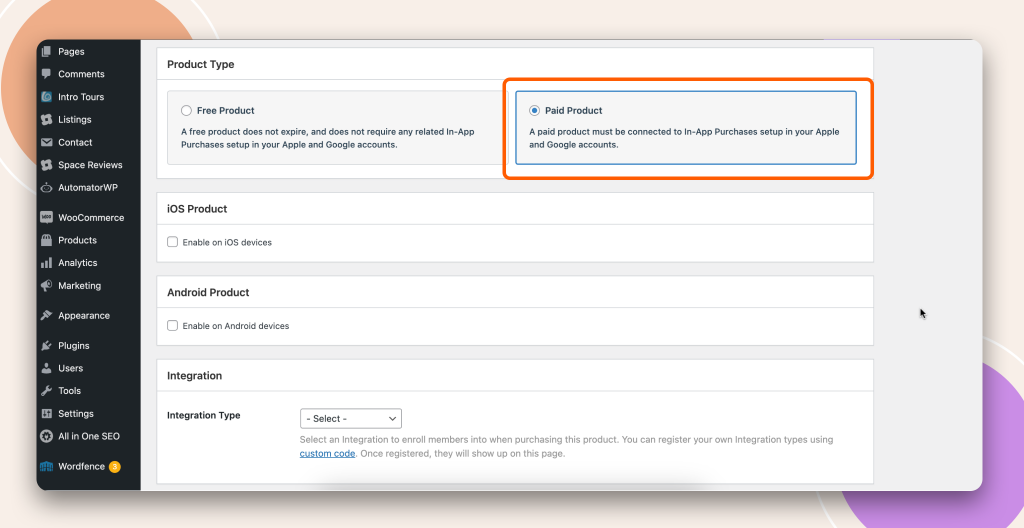
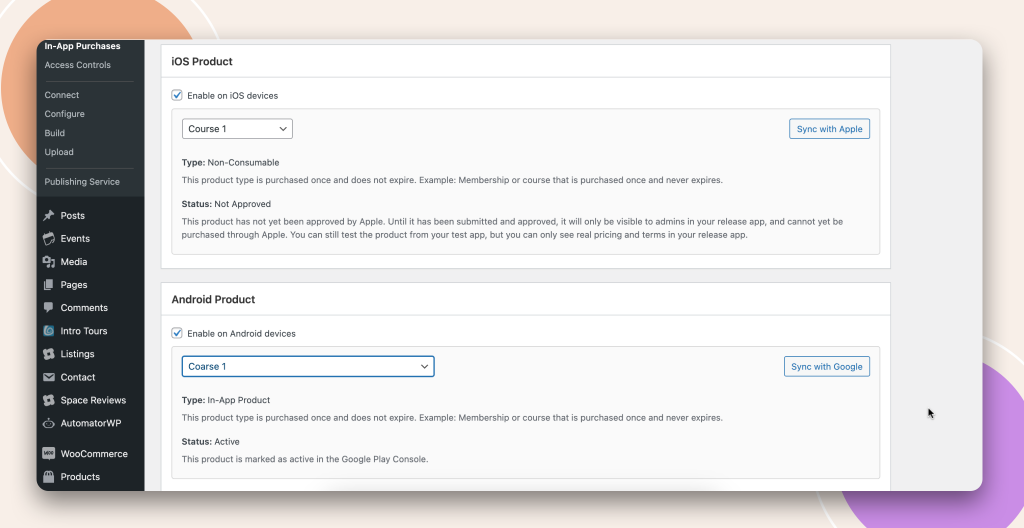
iOS Product?
Here is where your naming strategy comes into play to be able to recognise what product is what from your Apple App Store. We are always syncing with you app store and the products you are creating there is part of the information we look for. If for any you do not see your product you can use the ‘Sync with Apple’ on the right for Buddyboss to refresh the list. If still you cannot see your product please go back and make sure you saved your product.
As you can see here I will select ‘Course 1’ to match the product I have just setup.
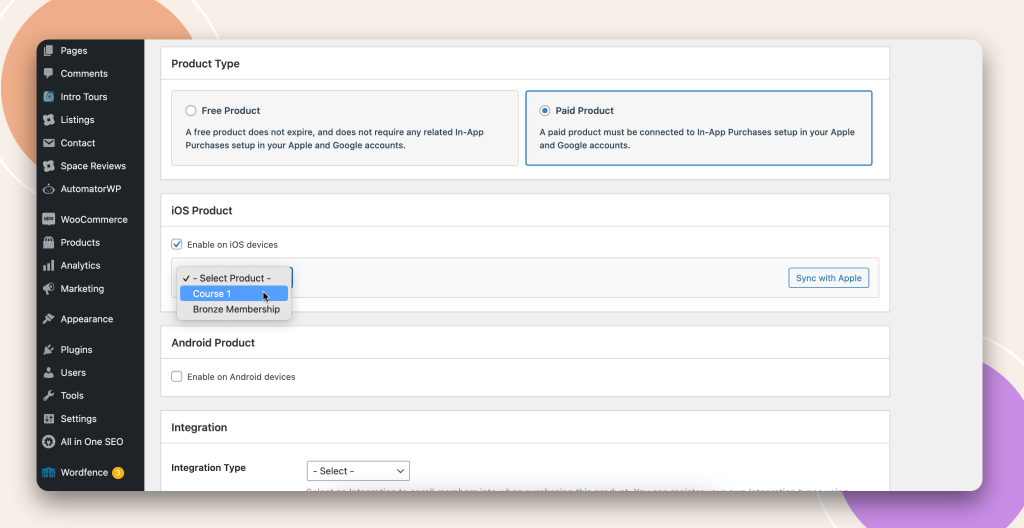
Android Product?
If you also want your product to show for your Android users then you will need to enable Android product. Again in the drop down I will select ‘Course 1’ to match the Buddyboss product I am creating, just like we did with Apple also.
Again if you do not see your product here you can use the ‘Sync with Google’ button on the right and also check that you saved your product correctly when setting up.
Integration
When your customer purchase a product or a membership you may want them to be automatically added to a membership level within your platform. This section comes into play when you are using membership plugins to create your memberships levels or even Learndash groups. We will not need this section in this instance as for this lesson we are not using any third party plugins but feel free to select an integration from the list that matches your setup.

Product Visibility
Lastly as this is a product I wish for my customers to be able to purchase at a later date I want this product to show within the product screen in my app. Tick the box to enable this and then click ‘Add product’.
Your product will now be saved and you will get a wordpress notification to let you know.
Well done you have now created a product in your Buddyboss app that is connected to the product you created in your Apple App Store and Google Developer Account.


