Now you have setup your payment profile we can now move on to creating an In-App Product. An In-App Product the same as when you did this in the Apple lesson, is a product you sell for a one time payment with no recurring payments. you would generally use an In-app product if you are selling a coarse or an ebook for example.
So lets move on to actually creating an in-app product, one thing to be aware of when we start this I will be creating the same in-app product as I did during the Apple lesson with the same names so I can easily match them up when creating the product in Buddyboss, If you have been following along then I strongly recommend you do the same, just for the simplicity of these lessons.
Creating a Product
Now you can navigate to your app that you wish to start creating the products in, scroll down the menu on the left sidebar until you see the ‘Monetise’ header. Select the drop down next to ‘Products’ and select ‘In-App Products’.
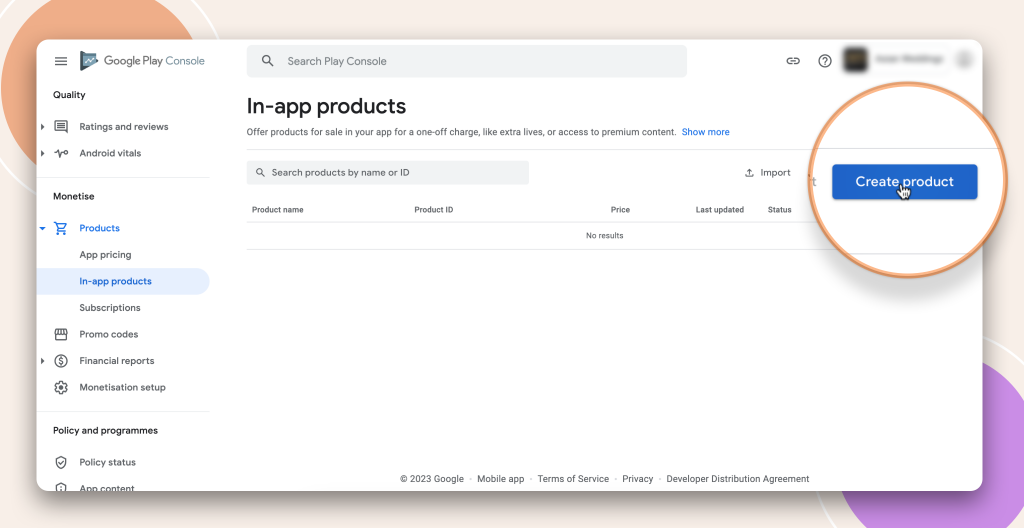
You will open the page that shows you all your in-app products you have created. Chances are you are seeing an empty page as per our image below or you may have already created some… Never the less, we are going to walk through creating a product from the beginning and to do that we start by clicking the big blue button in the top right of the page ‘Create Product’.
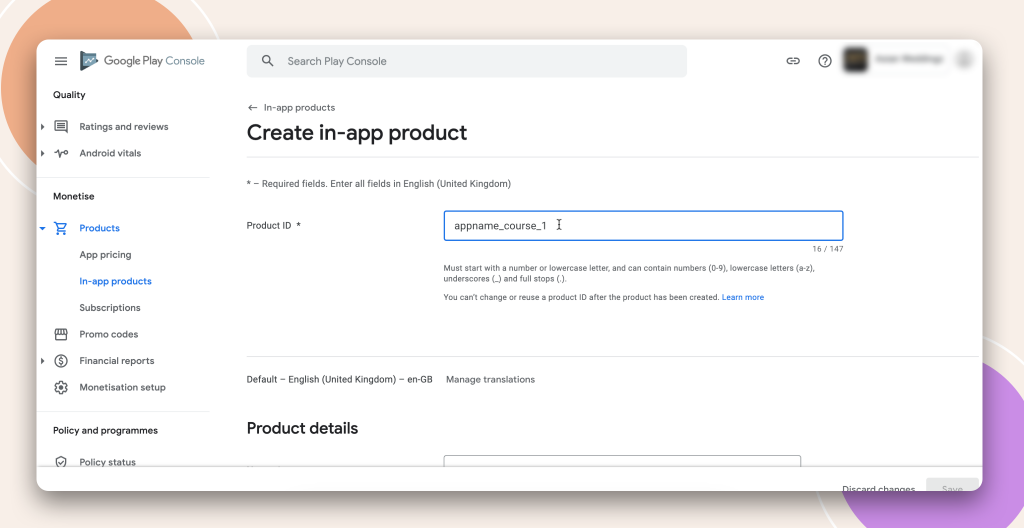
Product ID
Firstly give your product an ID which will work as a unique identifier for this product.
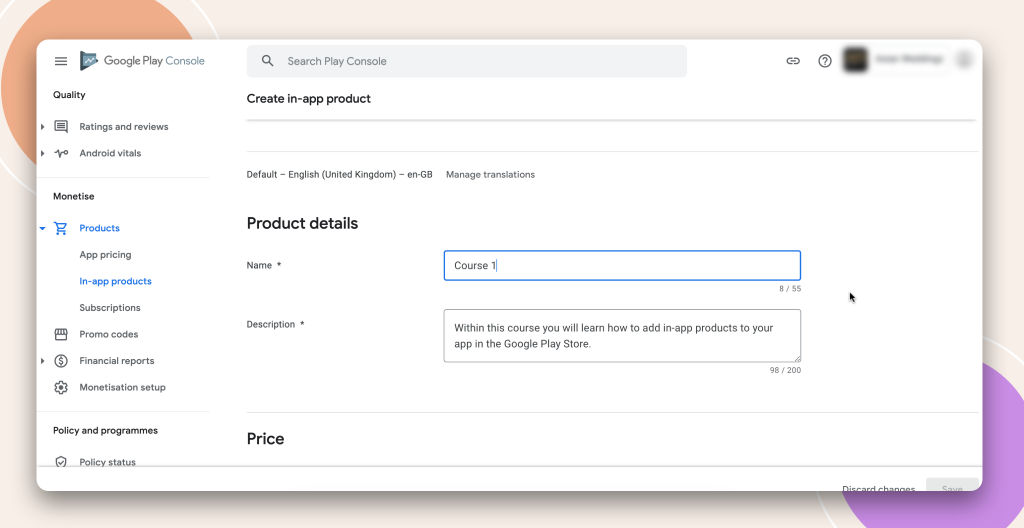
Product Details
Now give your product a name and description. As mentioned before you want to keep your product naming within Apple and Google aligned. With that in mind I have named this product ‘course 1’ matching the example product we created for our Apple product example.
Product Price
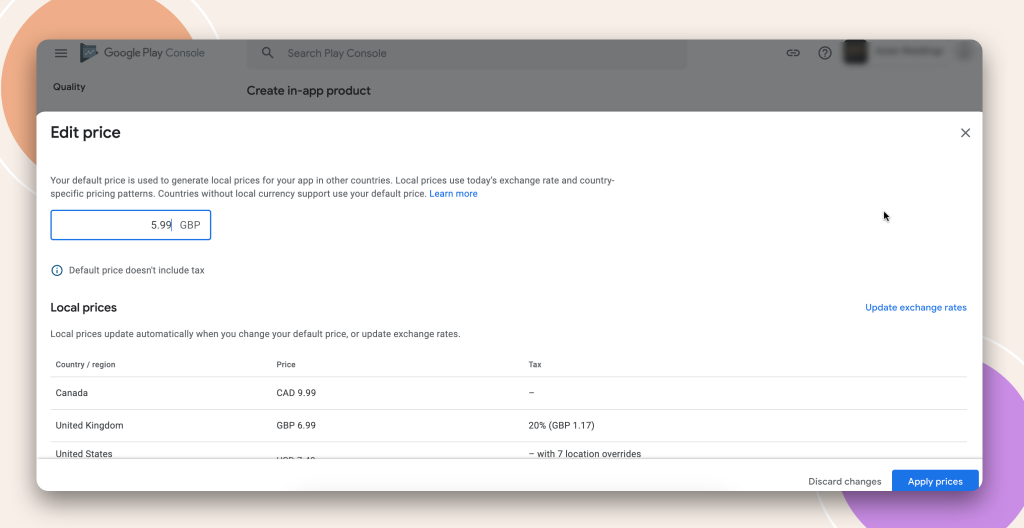
Here you will set the price of your product by selecting ‘Set price’. Also you will notice a drop down ‘Select Pricing Template’, I will cover this after we walk through setting the overall price.
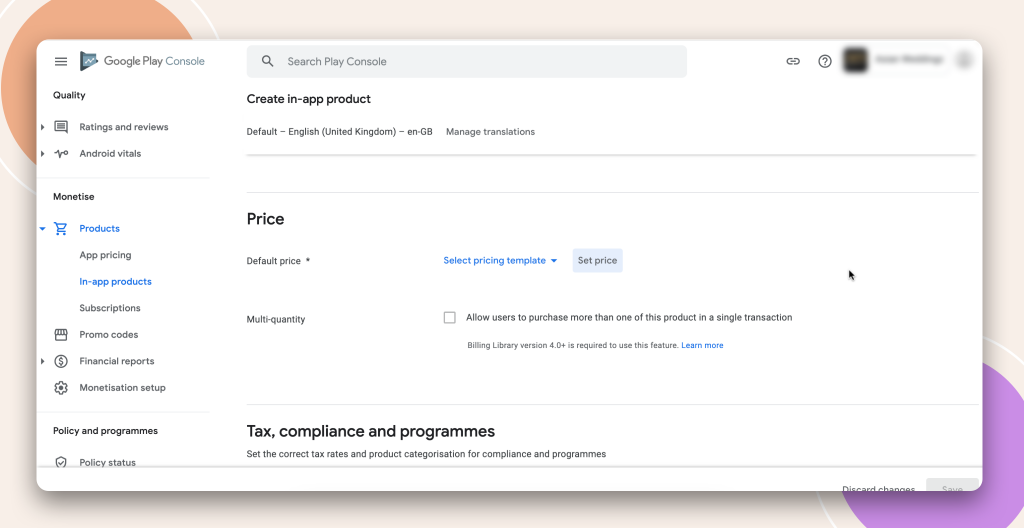
Unlike Apple, you can manually set your price for each product. Once you set your price you will notice Google will set the local prices automatically for the regions you have set for your to be available in. ‘Multi-quantity’, by selecting this you allow your users to purchase this product multiple times. As we are selling a course I only want to charge the customer one time, so we will not need to tick this box.
Selecting Pricing Template.
A pricing template allows you to set a template that instead of changing the prices individually for each region every time you create a product, can let you set and apply a pricing structure. For example lets say you want to charge $5.99 USD to a product, Google will automatically set the local equivalent price which would be $8.23 CAD or £4.89 British pounds.
By setting your own template you can set your price and change other countries and regions to a custom amount which could then be $5.99USD, $5.99CAD, £5.99 GBP.
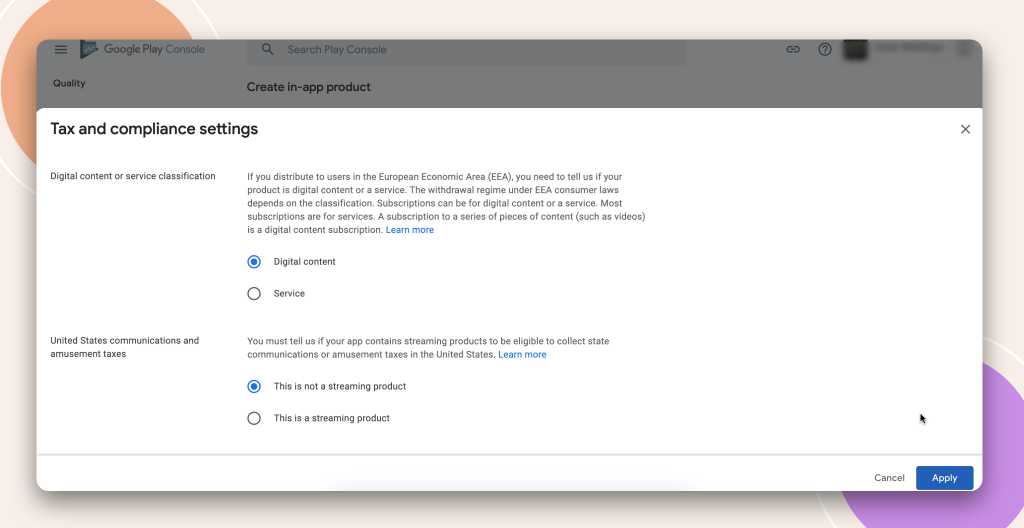
Tax & Compliance
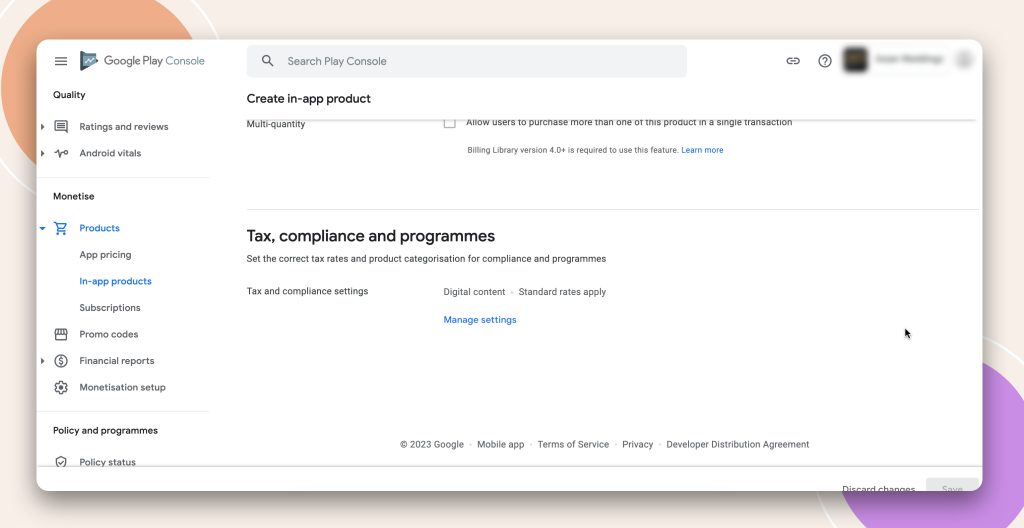
Select ‘Manage Settings’ and you will be given options to select how you want this product to be seen as. By default as you are setting up a digital product Google has already set this for you but, you can change the product to a service (set for subscriptions mainly) and if the product is or is not a streaming product.
Once you have filled out all the information for your product you have now finished the setup of this product and can hit the big blue button at the bottom right corner of the screen ‘Save’ and then ‘Activate’. You do not have to activate your products straight away especially if you are building them up in preparation for later down the line. Just remember to come back and activate them when you need them..!


