Now you have created a subscription group you can now We will take you through this process by creating a subscription – Bronze membership tier.
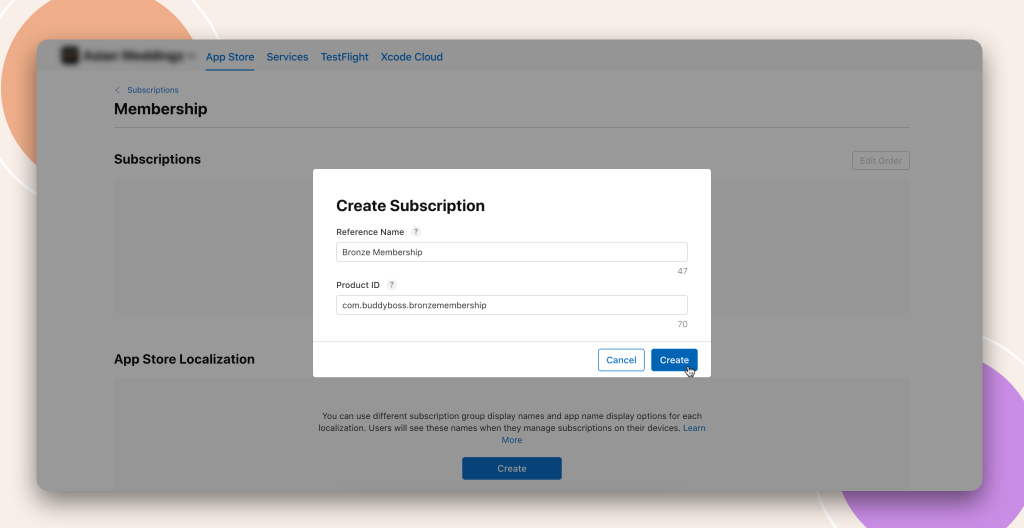
As you can see we have to provide our subscription with a ‘Product ID’. Apple requires product ID’s to be in reverse domain format. For example our domain is Buddyboss.com and our membership level name is Bronze Membership so our product ID will look like this;
com.buddyboss.bronzemembership
Once you have created your subscription you will be redirected into the subscription page to fill out the rest of the required details. You will notice a yellow alert at the top letting you know that you have to fill in the localisation for your subscription group, ignore this for now as we will get to that next.
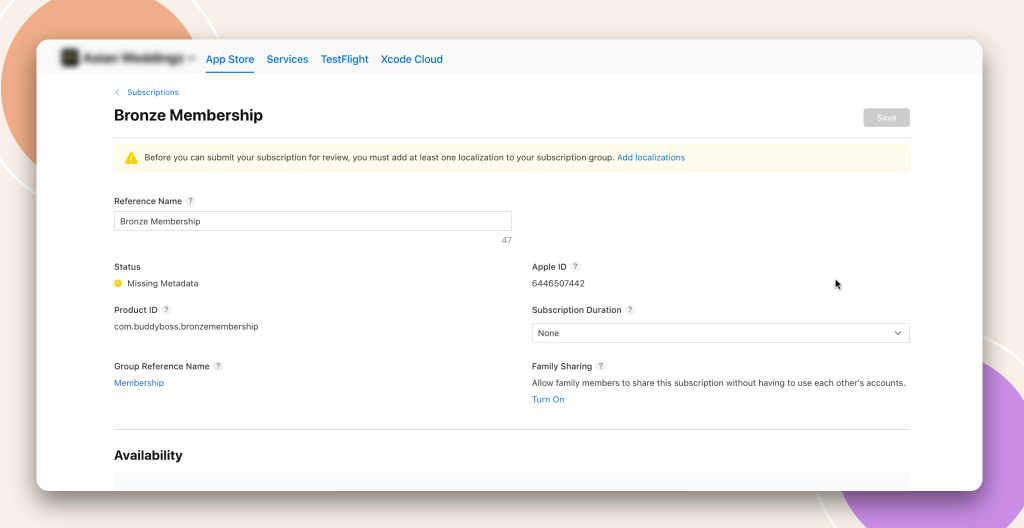
Availability
Here you can select which continents and or countries you would like your product to be shown in. As our app is set to be available in all regions which we setup when setting up the app, you will see below our product is also available for all regions, yours will replicate the regions you have set your app to.
Just because your app is set to be available in the regions you selected, you might not want your product available to the same locations and here you can choose by ticking the boxes of where you want this particular product to be available.
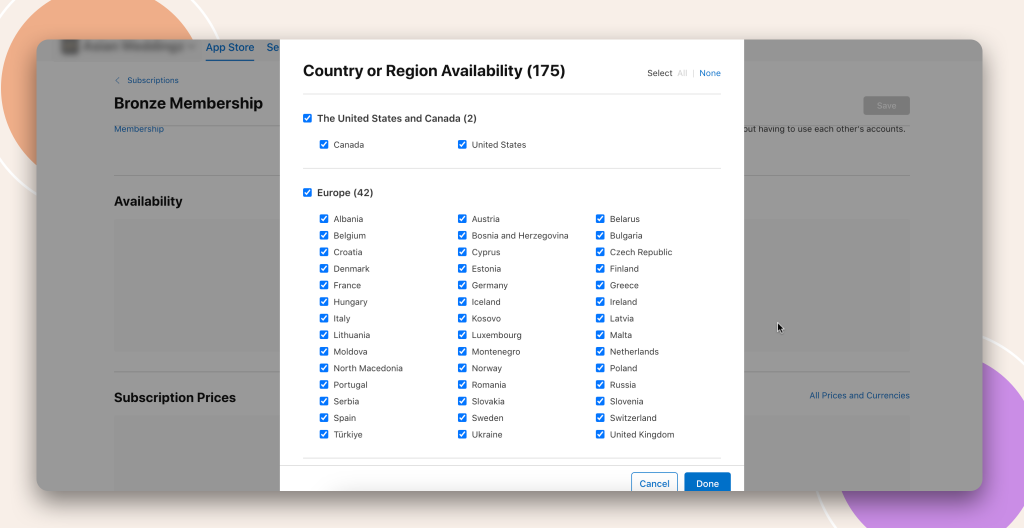
Pricing Schedule
Here you can set the price of your product, unfortunately Apple have removed the ability to type in your own price and are forced to select one of their tier prices.
Once you have selected your product price within the tier drop down, when you select next you will be taken to a second model which shows you the currency equivalent prices per location. From here you can select different tier prices for individual locations if you so wish.
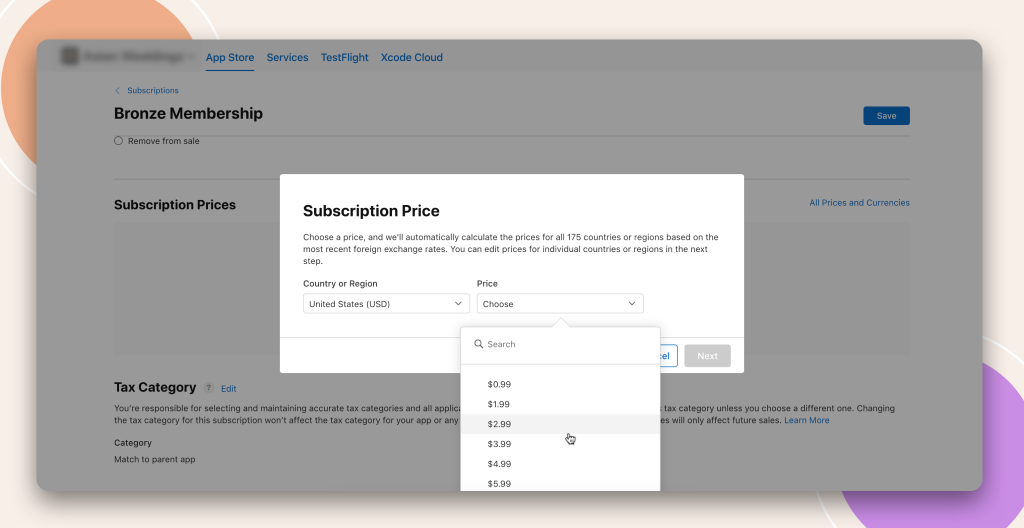
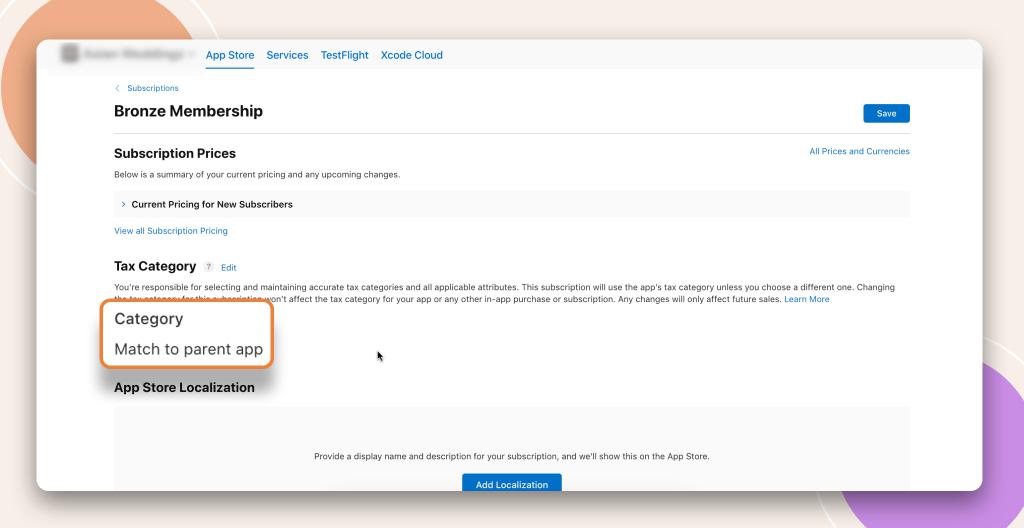
Tax Category
The Tax Category option does not need to be altered and the product will inherit the tax information you originally setup when you setup Agreements, Tax & Banking at the start.
You do have the options to edit the tax information by selecting edit and selecting a different category for this particular product. This is used more for countries that might give tax release on the sale of particular products such as ‘Books’.
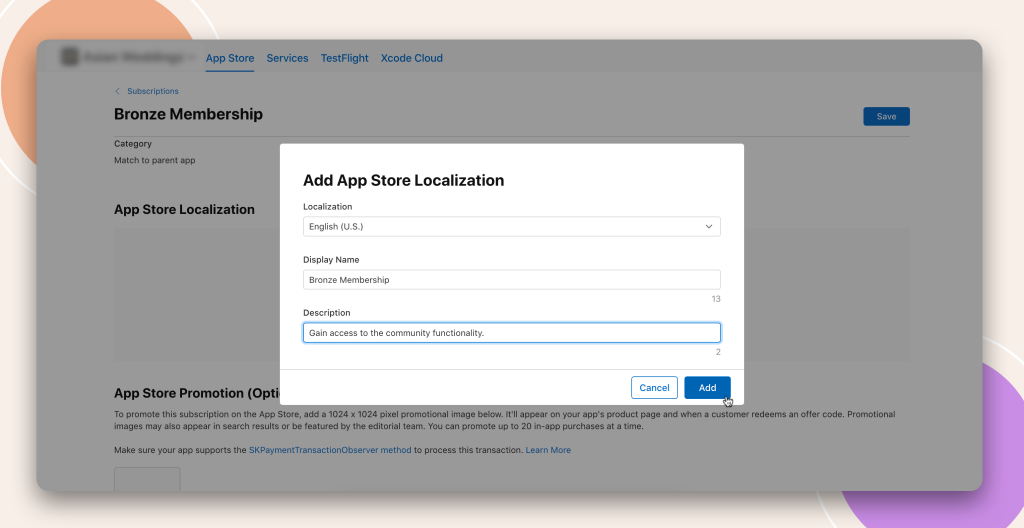
App Store Localization
Fill out the App Store Localization fields which will be displayed to your customers letting them know what your subscription is about. Note: Be as descriptive as possible when filling out the description field, if Apple does not feel that the description clearly represents your subscription product they will reject it and make you alter it so be clear and as descriptive as possible.
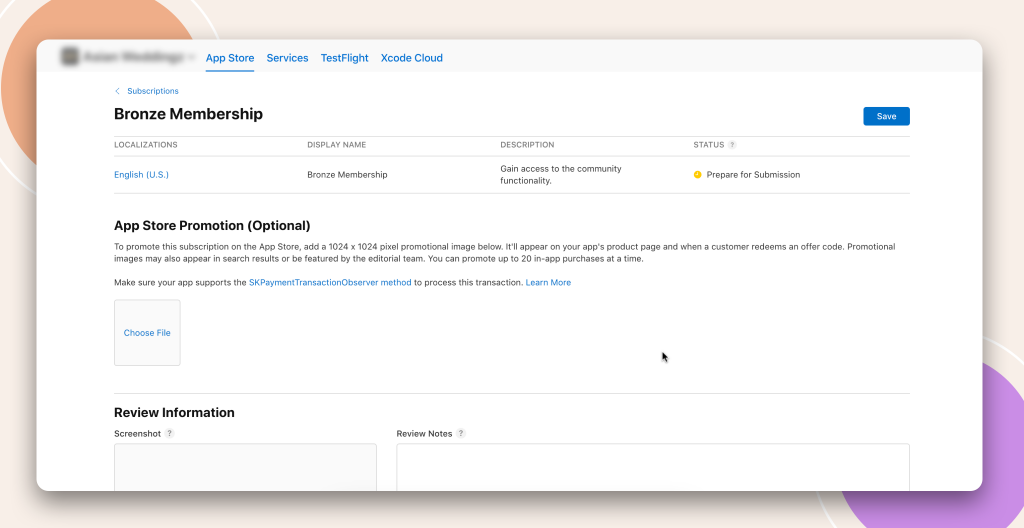
App Store Promotion
This section is optional. If you would like to display your products on your download app page, which you are able to do for up to 20 products, then you would use this option to create a product image and upload to here. Note: When creating an image for this do not use text of any size as no matter how big you make it Apple deems is to small to read.
Review Information
This last section is just for Apple’s reviewers to get a full understanding of the product. Upload an image and a full description of what you are providing your customer, what they get when they purchase, who has access to purchase and anything else you can think of to give Apple as much information as possible. You do not have to use the full 4000 words but as you can see they are looking for an in depth description.
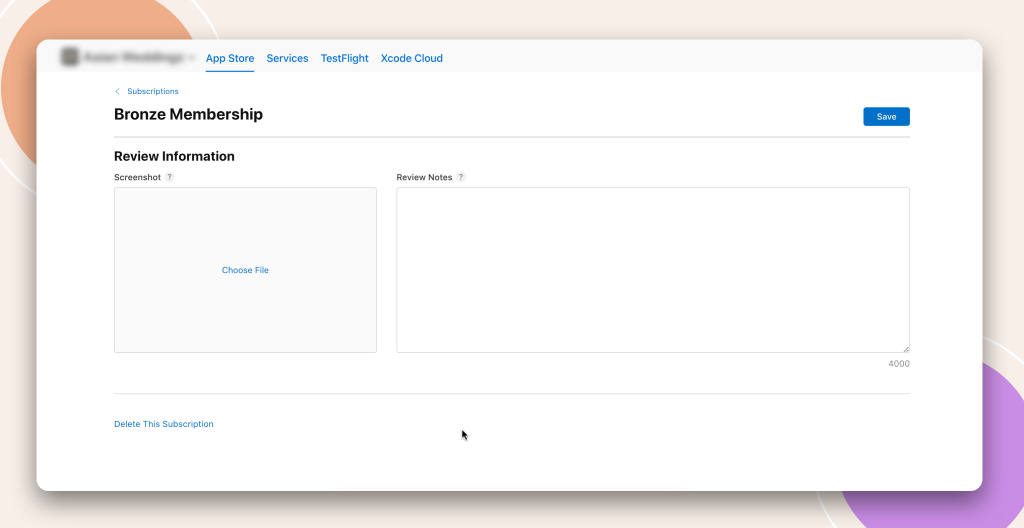
Last but not least here and just in case you need it you will see at the bottom if you do not want this product anymore you can delete it by select the ‘Remove In-App Purchase‘.
