Generate a release build
After publishing your app through our publishing service your app goes live but unfortunately this is not a set and forget it industry… Your app will need maintenance and updates which are always being released by the Buddyboss team to enhance your users experience.
How do we create Builds?
Before we can create builds you should have by now connected your Apple and Google developer accounts to your Buddyboss App plugin, which is outlined in previous steps, also you can see our step by step guide in our YouTube channel.
Step 1:
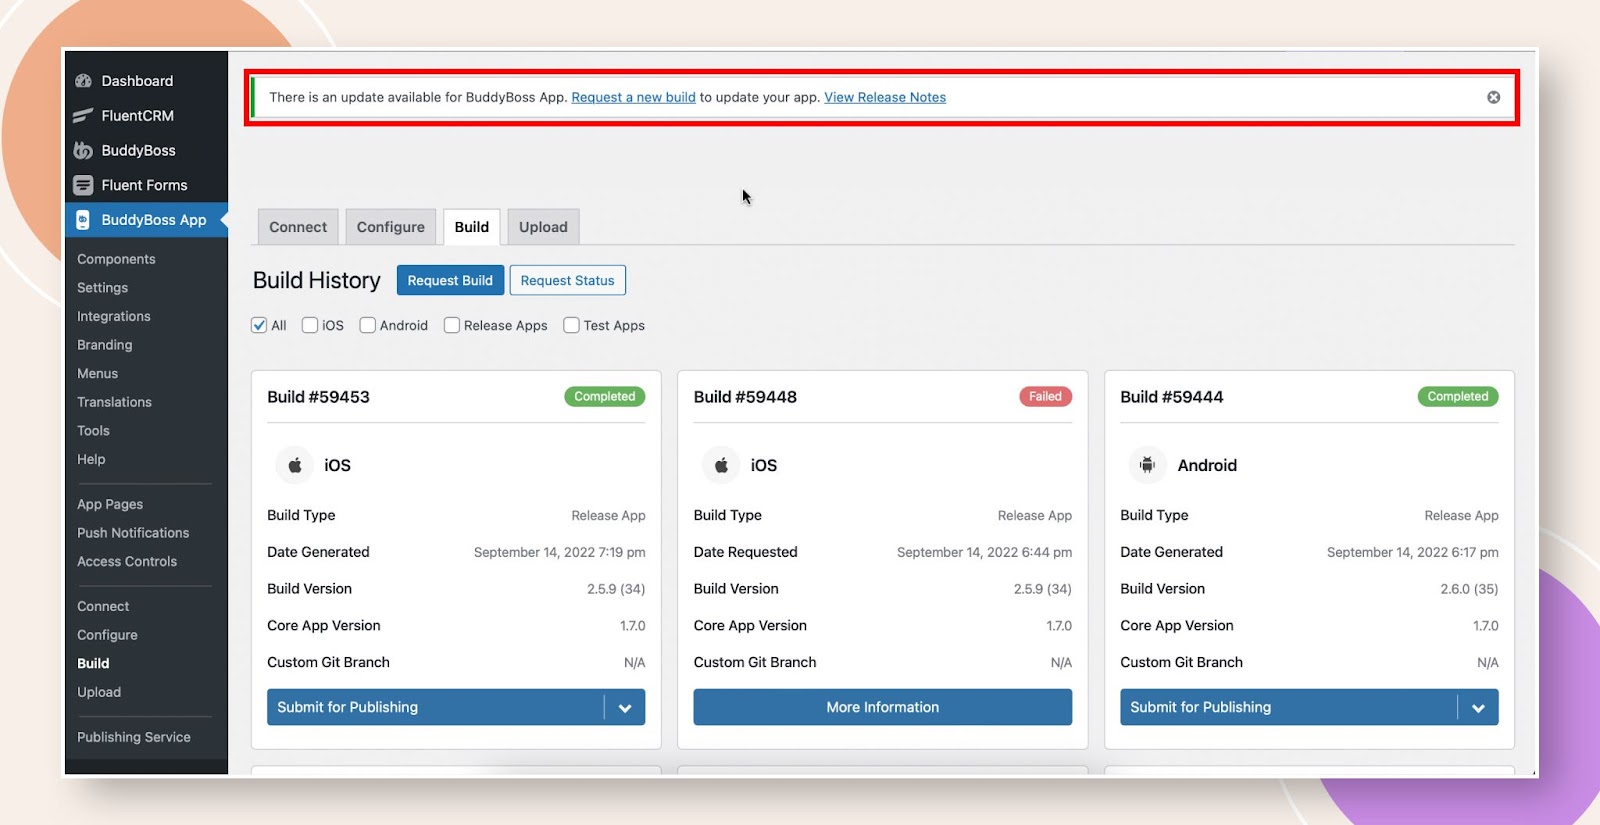
Navigate to your WordPress Admin – Buddyboss App – Builds. Below shows build cards of a site with many app builds, tests & releases. Yours will not look like this your s will be empty but don’t worry it will look like this…

Step 2:
To create new builds start by selecting the big blue button that says ‘Request Build’

Step 3:
Select your platform you wish to create your builds for, iOS or Android. Then select whether you are building a test or a release build, and for the purpose of this document you should select release build. Also you can select and build both at the same time if you wish this will not slow down the process.

Step 4:
Once you have selected your build and platform you will come to an app build overview page, from here you can preview all the information that we will include in your build including your custom Git repository branch.
From here you can also edit the build versions so that you can follow a release numbering system as you see on most software products such as 1.1 or 1.2 etc.
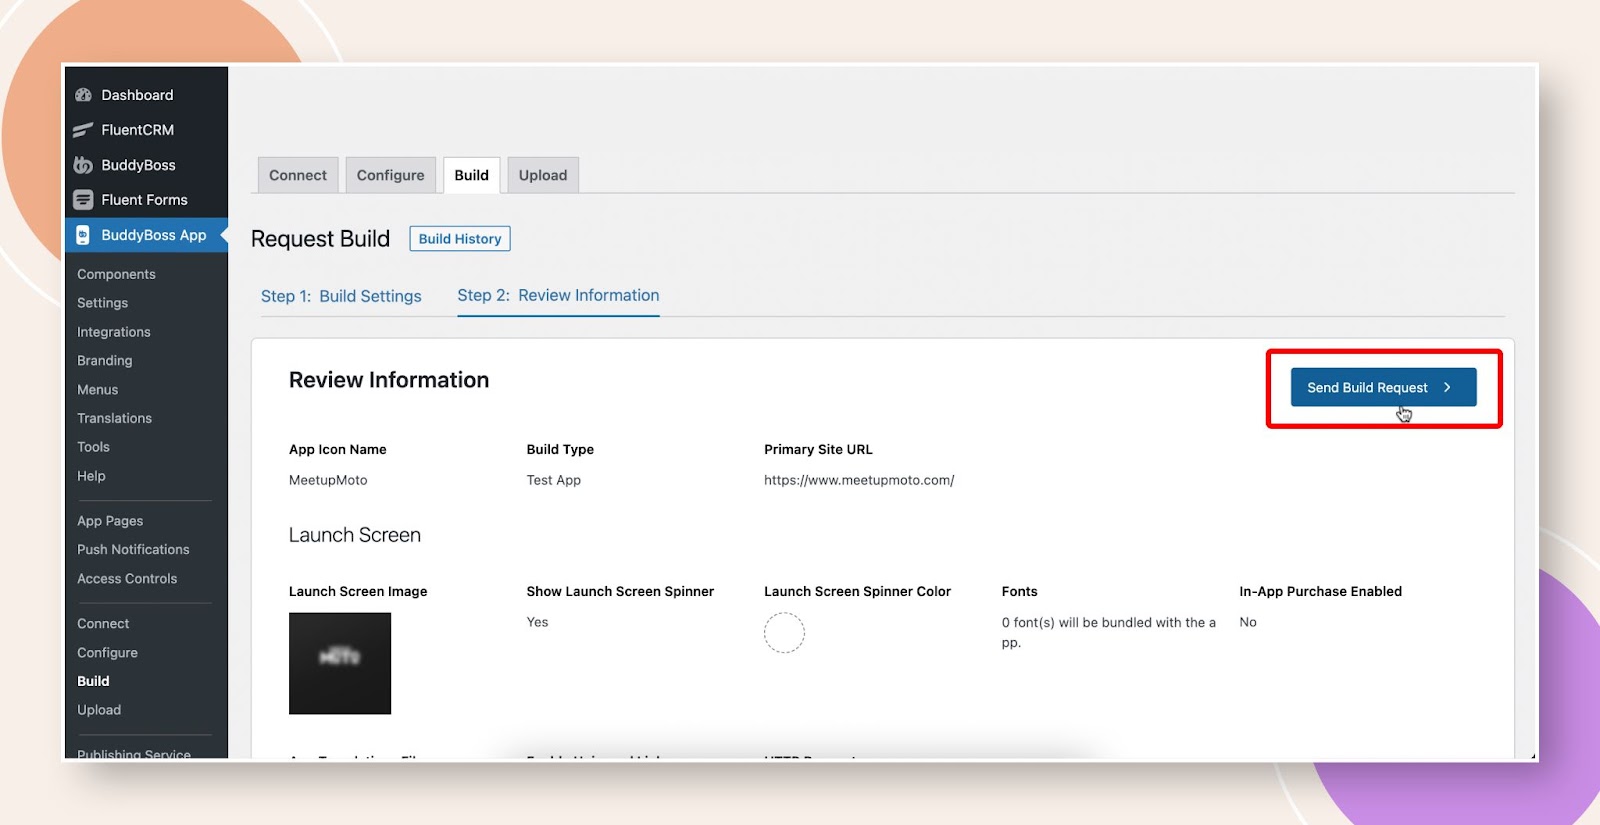
When you are happy with the overview you can carry on a click the big blue button in the top right ‘Send Build Request’.
Now you sit back and wait, your build will take around 15 minutes. This might vary on times when we release updates or new features if our servers get busy with everyone trying to create builds at the same time…
If you prefer you can follow our step by step video tutorial below.
How to Generate App Builds for BuddyBoss App
When do you need to Create new Builds?
Step 1: Change of Setting
You may have made a change in your Buddyboss app settings that require a new build. 95% of your app settings can be changed and your app will update automatically and show next time the user opens the app.
For the other 5% of the time you will see a notice that if you change this setting then you will be required to create a new release and that will look like this;

Step 2: Buddyboss App Update
When we release an update to the Buddyboss App you will see a notice banner that hovers around at the top of your wordpress admin dashboard and will encourage you to generate a new release build so that you can take advantage of the new updates we have rolled out.
Step 3: In-App Purchases
This last one really is an FYI and will only relate to those of you using In-app purchases but still worth noting for those that plan to use In-App purchases later down the line. That is everytime you create a new product or subscription product in your Apple or Google developer account and want it to be used in your app then you need to create a new release every time you add a new product… So we recommend to pre-plan your In-App purchases the best you can and adding as many as possible in one go so that you only need to create one new release build.
This is good practice for anytime you are planning to add in-app purchases.
Publishing New App Release
1.create new release build in Builds. For both or just 1
1. Upload Builds
2.Create a new release in Apple
3.Create New Release in Google
4.Upload Builds
Related Material
How to Generate App Builds for BuddyBoss App


